To decide where the stones or marbles should be placed, mark the arrangement on the wall or floor. For straight cuts and alignments, use a chalk line.
Preparing the Substrate
For more stability, if required, put in a cement backer board, particularly in damp places like bathrooms.
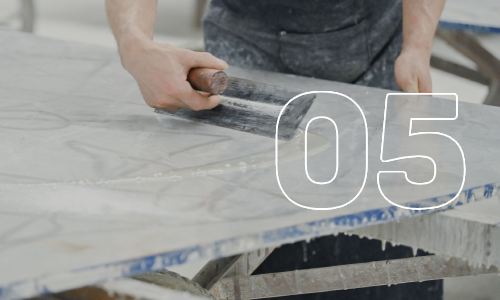
Applying Mortar
As directed by the manufacturer, mix the thin-set mortar. Working in small areas, evenly distribute the mortar on the substrate with a trowel.
Setting the Stones
For a stronger binding, gently twist each stone or marble piece as you press it into the mortar. To keep grout gaps constant, use spacers.
Leveling
As you proceed, periodically check each stone’s level. Make any necessary adjustments to guarantee a level surface.
Cutting Pieces
Use a tile cutter or wet saw to measure and cut stones to fit the arrangement for corners and edges.
Grouting
Remove the spacers and use a grout float to fill in the spaces with grout after the mortar has dried, which normally takes 24 hours. Make sure the grout is spread out uniformly.
Cleaning
Before the grout hardens, use a moist sponge to remove any excess from the stones’ surface.
Sealing
Use a stone sealer to shield the grout from moisture and stains once it has dried, usually 72 hours. This is especially important for porous stones like marble.
Final Inspection
Look for any loose stones, uneven patches, or problems with the grout. Take care of any repairs that are required.
Ready for the next step?
By following these guidelines, you can be confident that the stone and marble will be installed expertly, adding to the room’s beauty while also offering longevity and durability. A successful outcome depends on careful planning and execution.